What is a Day in the Life of an Artist Like?
This is another in our blog carnival and at the end of the post is a list of other artists participating in the carnival. You can visit them at your leisure. There are giveaways along the way.
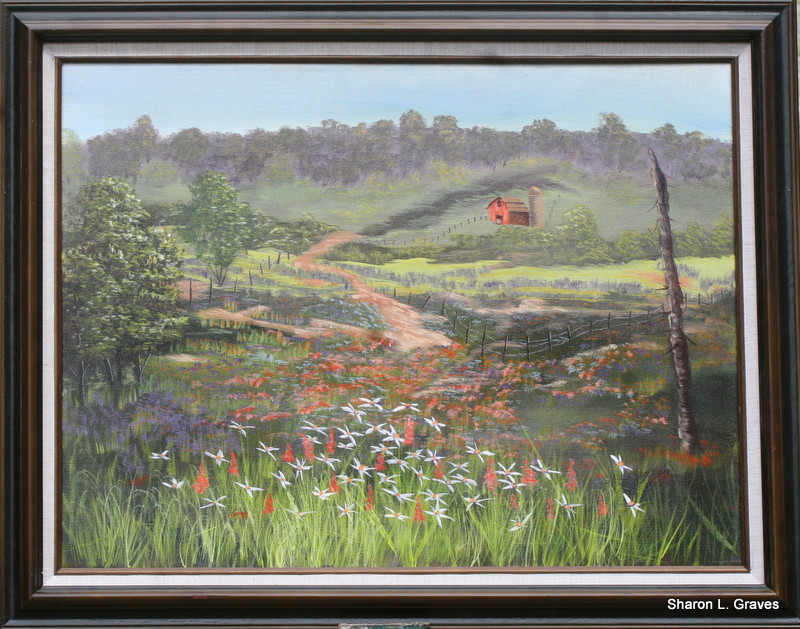
I will be giving away my 7" x 5" study in the post.
Be sure to click to see the progression of the painting.
Leave a comment on my blog and share my link on your fb page and you're entered.
I don't know that I have a normal day,
but this will give you a pretty good idea of what a "normal" day might look like.
I was getting entries ready for the Kentucky State Fair
so let's get started.
First off
you have to have the proper attire,
and these complete my ensemble of a UK t-shirt and blue jean capris.
Clothes make the woman.
I couldn't figure out how to show the wheels of my brain turning as I flipped through many possible photos I could use for my State Fair entries.
I decided on a swampy scene I took a photo of in Florida this past winter.
I've entered in two classes, a mini painting which I will do in a 4" x 4" format
and another in a 16" x 20" on a stretched canvas.
I've decided that I am going to spend more time in preparation for my paintings.
Here I'm drawing the scene, trying to get the composition I want.
A little of the progress of the drawing.
The finished drawing.
I don't consider myself very good at drawing, but it is something I've worked on lately.
I'm happy with this.
Let's see if I can translate this composition into a good painting.
I've taken out several trees and a foot bridge from the actual photo.
I'm going to do a 7" x 5" study of the drawing, again refining the process and
getting the colors and values right.
This is how I attach my small panels to a dabble board.
Yep, that's just rolled masking tape. I put the panel on a larger piece of masonite
so I can paint all the way to the edges, not touch it until I'm ready to remove it,
and I have something to do a quick practice stroke on if I need one.
I've used this method for years and have never had problems with the panel falling off
unless I leave it on for several days.
Click
here to view the video of the progression of the painting.
Before I start the small painting, I start priming larger canvases.
I usually do several at once.
If I'm doing small ones I do a dozen or so at a time.
These will receive up to 6 coats of gesso before I begin the painting.
Starting with a fresh palette.
Those are paper towels around the edges with the paint on them.
Since I paint in acrylics, I can spray my palette with water and the paper towels absorb the excess ad keep the paints moist.
I spray it several time during a paint session.
When I'm done for the day, I spray everything, put the lid on and
live to paint another day.
The beginning of the study
The completion of the study.
I'm happy with the colors.
Might make more separation in the distance foliage.
I'm beginning my 4" x 4" painting.
It's on a panel.
I felt it would be easier for me to start small and then go large.
I'm using the same reference for both of these paintings.
They aren't competing against each other
and I really like the composition.
Here it is finished.
You can see I added more distance by painting another lighter bank of trees back there.
I also added more warmth by adding brighter yellow and light green in the foreground.
I took a break for lunch here.
I've really worked up an appetite!
Now for the 3rd painting today,
I'm starting the 20" x 16" stretched canvas.
Here's the block in and . . .
Here's the finished painting.
There's more reflections in this version and more oranges and yellows close to the water.
Here's all 4 pieces I've completed today.
I know,
I'm an over-achiever.
I popped the 4" X " into this cute wooden shadow box frame.
Now to frame the big boy.
I made a little video of how I frame a painting,
so click to view the video
here.
Now one last thing.
I'm entering one of my slate shingle yard art pieces,
and I needed to do a few finishing touches to it.
Can you see those holes about 2" from the top.
This slate hangs on a shepherds/mini flag hook in the yard,
for some pretty cool yard art.
I'm pretty beat.
But a day wouldn't be a day without this,
During my little lunch break,
of course I had to go throw a load of clothes in to wash.
Well there you have it, friends.
That's pretty much what my days in the studio look like.
Here's the list of other artists blog posts.
"http://charleenmartinstudios.blogspot.com/2013/08/a-day-in-life-of-artist.html">Charleen Martin
Thanks for stopping by today.